I have already written elsewhere all the good that I think about Raspberry Pi. It is a fantastic project supported by a great community. I personally own a Rapsberry Pi model 3B and so far I have been using it for several small projects. For more than a year I have been thinking about running some small services on my Raspberry Pi, but never took the time to set it up. I finally took Christmas time to do it and I started with NextCloud. This post summarizes the different installation steps I went through to get a NextCloud server running on my Raspberry Pi. Note that I do not intend to provide a walk-through for the installation, I rather explain what needs to be done, give some commands and point to online documentation and tutorials. There are plenty of good tutorials available on line, notably the ones by Pi My Life Up, I don’t think they need to be duplicated!
Install Rapsberry Pi OS
For this project, I decided to re-install my Raspberry from scratch. Before doing so, I checked the version of Raspbian installed on it using inxi:
| |
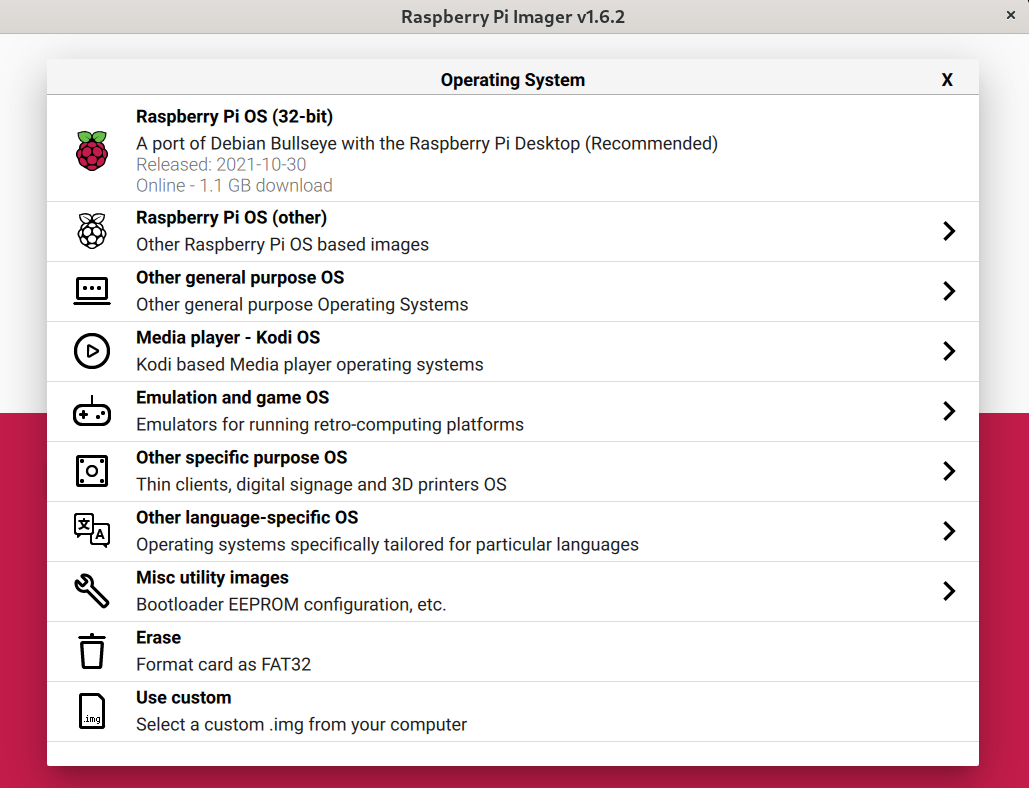
Note that Raspbian is now referred to as Raspberry Pi OS, but is still a Debian image suited/optimized for Raspberry Pi devices. As I was looking for a way to download the image and install it on my microSD card (FWIW, a 64 Go one), I was very excited to learn that since March 2020, there is a new image utility, Raspberry Pi Imager, that makes the installation of Raspberry Pi seamless, so I used it! First, I downloaded the .deb file directly from the website and I installed it on my Debian machine as follows
| |
Then I opened and used Raspberry Pi Image which is very intuitive interface. That step actually took less time than I anticipated!
Basic settings
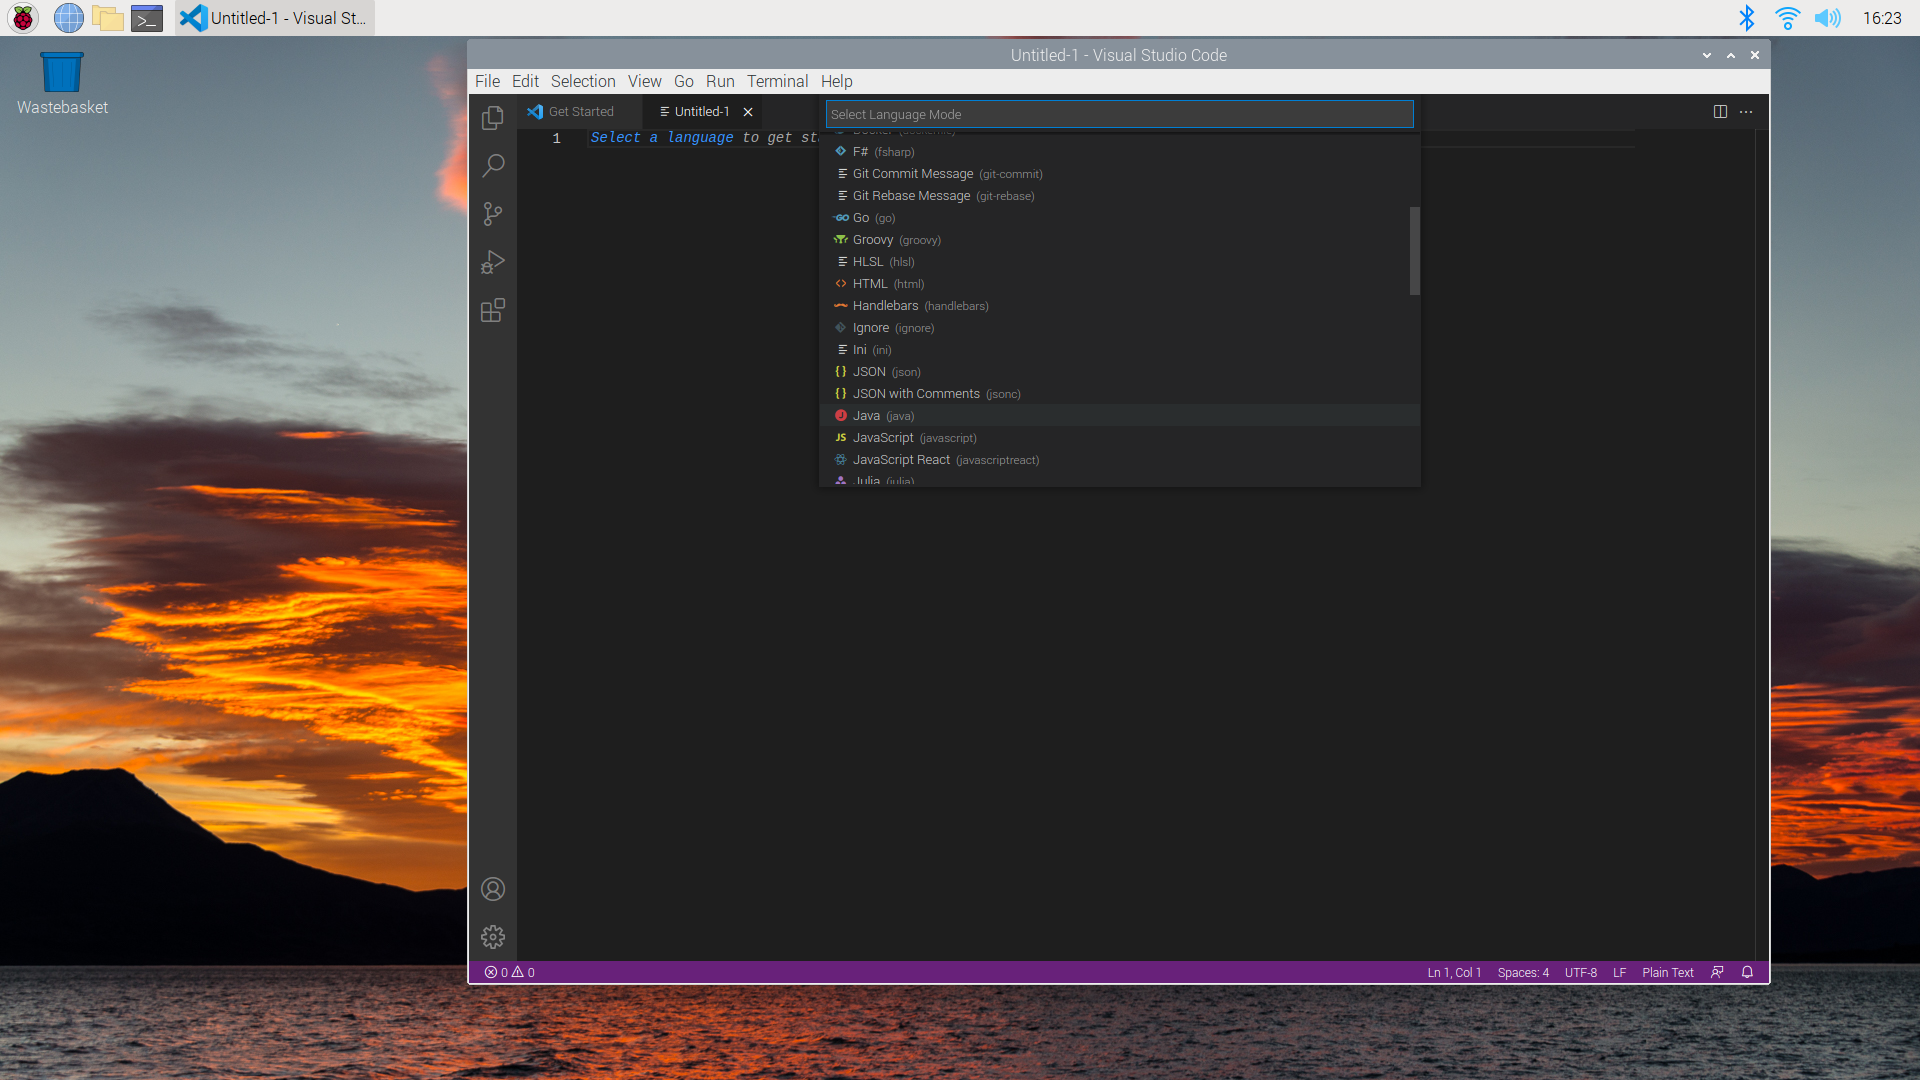
Once the microSD card ready, I inserted it in my Raspberry Pi and started the device. For this step, I use it as a personal computer, meaning that I used a keyboard, a mouse and a screen. That way I was able to enable SSH (this is the only step that is actually not needed for what follows, if you are only interested in Nextcloud you can skip the rest of this section) and to check out the graphical interface, which is pretty nice! I decided to have a look at the recommended software and I was happy to see that we can now install Visual Studio on a Raspberry Pi! I install it along with LibreOffice and Mathematica, I just thought that having some software installed wouldn’t hurt in case somebody needs to do some work on it at some point.
At that point, I realized than several tools were already installed, e.g.
| |
I only needed to install a few others. Again, these are not needed for the NextCloud installation presented below, but those are tools I use frequently, namely Docker, duf, Hugo, inxi, Julia and R:
| |
Note that in order to identify the right version of duf I needed, I checked out my CPU model with inxi:
| |
This is how I knew that I needed to use the ARMv7 image of duf.
Connect to my Raspberry Pi via SSH
After the installation described above, I shut my Raspberry Pi down, and moved it next to my box, no keyboard, no mouse and no screen. And then I went back on my Debian machine. At this point I needed to locate my Raspberry Pi on my local network. Fortunately there are network tools to do so seamlessly, arp-scan is one of then that I was able to install using apt-get
| |
Then all I had to do was running the following command (I had to run it as super user)
| |
In the output I found something like this
| |
actually there were two lines like this because the wi-fi was up (and I [disabled it] by editing disable the wi-fi by editing /boot/config). So there I knew that I could connect to my Raspberry Pi with the following command.
| |
Note that instead of looking for the right IP address, it is possible to use multicast DSN (mDSN), on recent Raspberry Pi OS images, avahi is probably installed (see systemctl status avahi-daemon.service), otherwise it can be installed. Assuming avahi-daemon.service is up and running, then you can directly do
| |
The last thing I’ve done is that I added one of my public ssh keys to my Raspberry Pi to avoid typing my password in every time I connect to it. This is well-explained in a post by Py My Life Up:
- generate a ssh pair of keys with
ssh-keygen, - copy a public key to your Raspberry Pi using
ssh-copy-id.
Using a static IP
This is super easy to do, but I honestly think that before doing that there are several terms you should know. I spent a fair amount of time reading about these, playing a bit with my home rooter (e.g. I change the range of dynamic IP), and it is worth it. At least I now have a better idea of what I am doing and why I needed to get a static IP. Fortunately there are a lot of good resources available on line (on Wikipedia for instance). Below is a list of term that are worth getting acquainted with.
- IP address (also the difference between IPv4 and IPv6);
- Static versus dynamic IP;
- DHCP;
- NAT;
- LAN ;
- Gateway;
- Subnetwork;
- Subnet masks;
- Port;
- DSN
I’d like to mentioned specific page on routersecurity.org that helped me a lot. Now, assuming that you have a basic understanding of the terms above and that you know the range of dynamic IP used by you DHCP, you can set a static IP chosen accordingly, it only requires to check /etc/resolv.conf and edit /etc/dhcpcd.conf, as explained on Pi My Life Up.
Setting NextCloud
I don’t actually need to write anything about this because the tutorial on Py My Life Up, “How to Setup a Raspberry Pi Nextcloud Server”, proposed an excellent tutorial that I basically followed. So if you want to set up your NextCloud server on your Raspberry Pi, just read this tutorial!
Well, … I can actually add a bit to the tutorial, because in my case I add a domain name, so I did not follow the last sections! Below are the section of the tutorial that I’ve followed
- Installing Apache and PHP
- Setting up a MySQL Database and User for Nextcloud (I had to install Mariadb first)
- Downloading Nextcloud on your Raspberry Pi
- Configuring Apache for Nextcloud
- Nextcloud Initial Setup
- Moving Nextcloud’s data folder
- Increasing Nextcloud’s max upload size
Once those were done, I went on my DSN provider, I created an A record to point to my public IP. Note that you can check your public IP by using websites that return your public IP, for instance https://wtfismyip.com/ and you can also access this info using commands, e.g.
| |
Then I opened ports 80 and 43,
| |
and then I set up the port forwarding on my rooter to my Rapsberry Pi. Last, I used Let’s Encrypt via certbot in the python3-certbot-apache (see this other post by Py My Life Up)
| |
I answered the questions and then I got a congratulation message, which basically means that now I could be using HTTPS for the NextCloud web interface of my serve.
Then I did some configuration work: I created several users and add a security app, Two-Factor TOTP Provider as suggested in this youtube video (in French) which was also super useful for dealing with the installation.
Two remarks to conclude this section and this post. First, if you don’t want to go through all these steps and are just interested in having NextCloud up and running ASAP, you can use a preinstalled SD card images proposed by NextCloudPi. Second, all the steps described above led me to install the following packages:
| |